Machine Learning > Deep Learning Instance > User Guide
Create a Deep Learning Instance
To use the Deep Learning Instance, you must first create an instance.
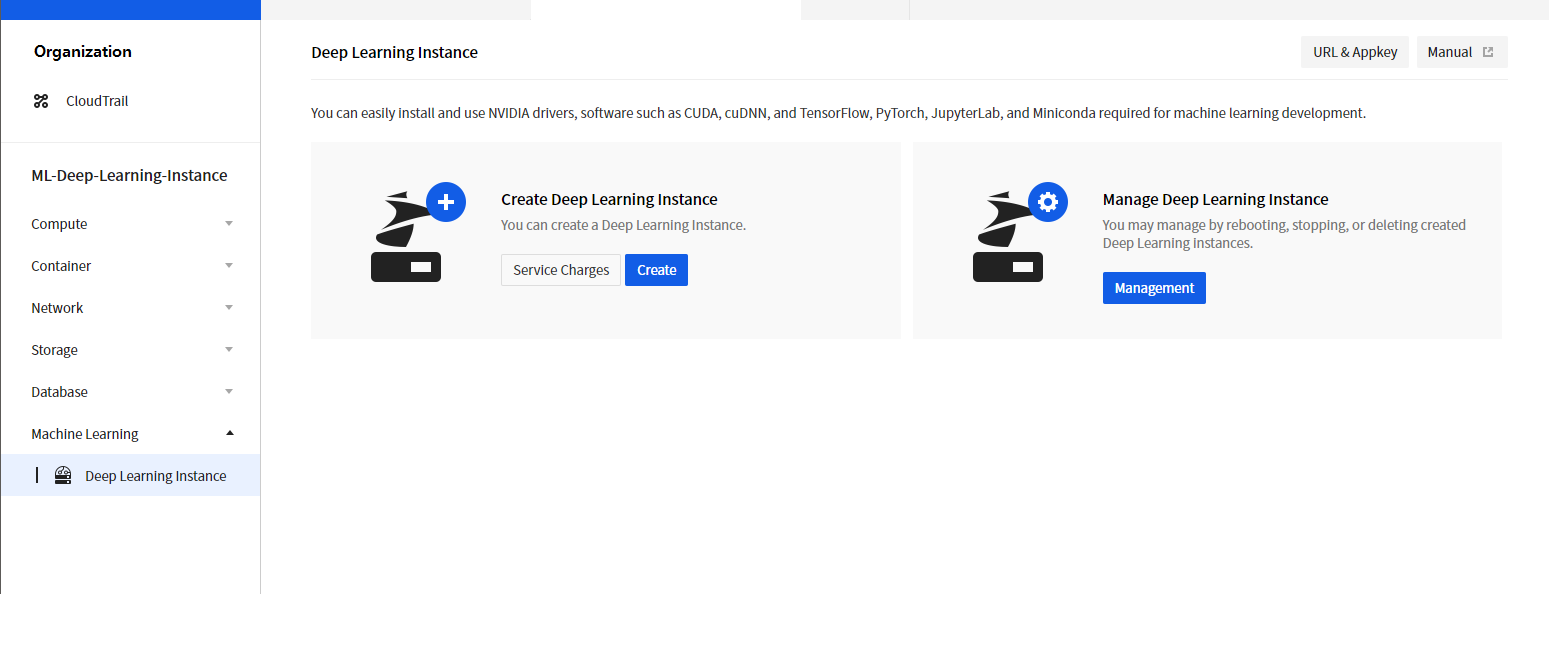
Click the Create Deep Learning Instance button, and you will be taken to Machine Learning > Deep Learning Instance > Create Instance.
Deep Learning Framework Instance provides the following versions of software:
| Version | Deep Learning Framework | NVIDIA CUDA | NVIDIA cuDNN | OS |
|---|---|---|---|---|
| v4.0.0 | TensorFlow 2.16 | 12.2 | 8.9 | Ubuntu 22.04 |
| PyTorch 2.2 | 12.1 | 8.9 | Ubuntu 22.04 | |
| v3.1.0 | TensorFlow 2.12.1 | 11.8 | 8.6 | Ubuntu 22.04 |
| PyTorch 2.0.1 | 11.8 | 8.7 | Ubuntu 22.04 |
This software includes the source code
provided by NVIDIA Corporation. License
Deep Learning Instance uses Miniforge as its Python package manager and conda forge as its package repository. If you want to use Anaconda or Miniconda as your Python package manager and use Anaconda's repository, please check Anaconda's license policy before using it.
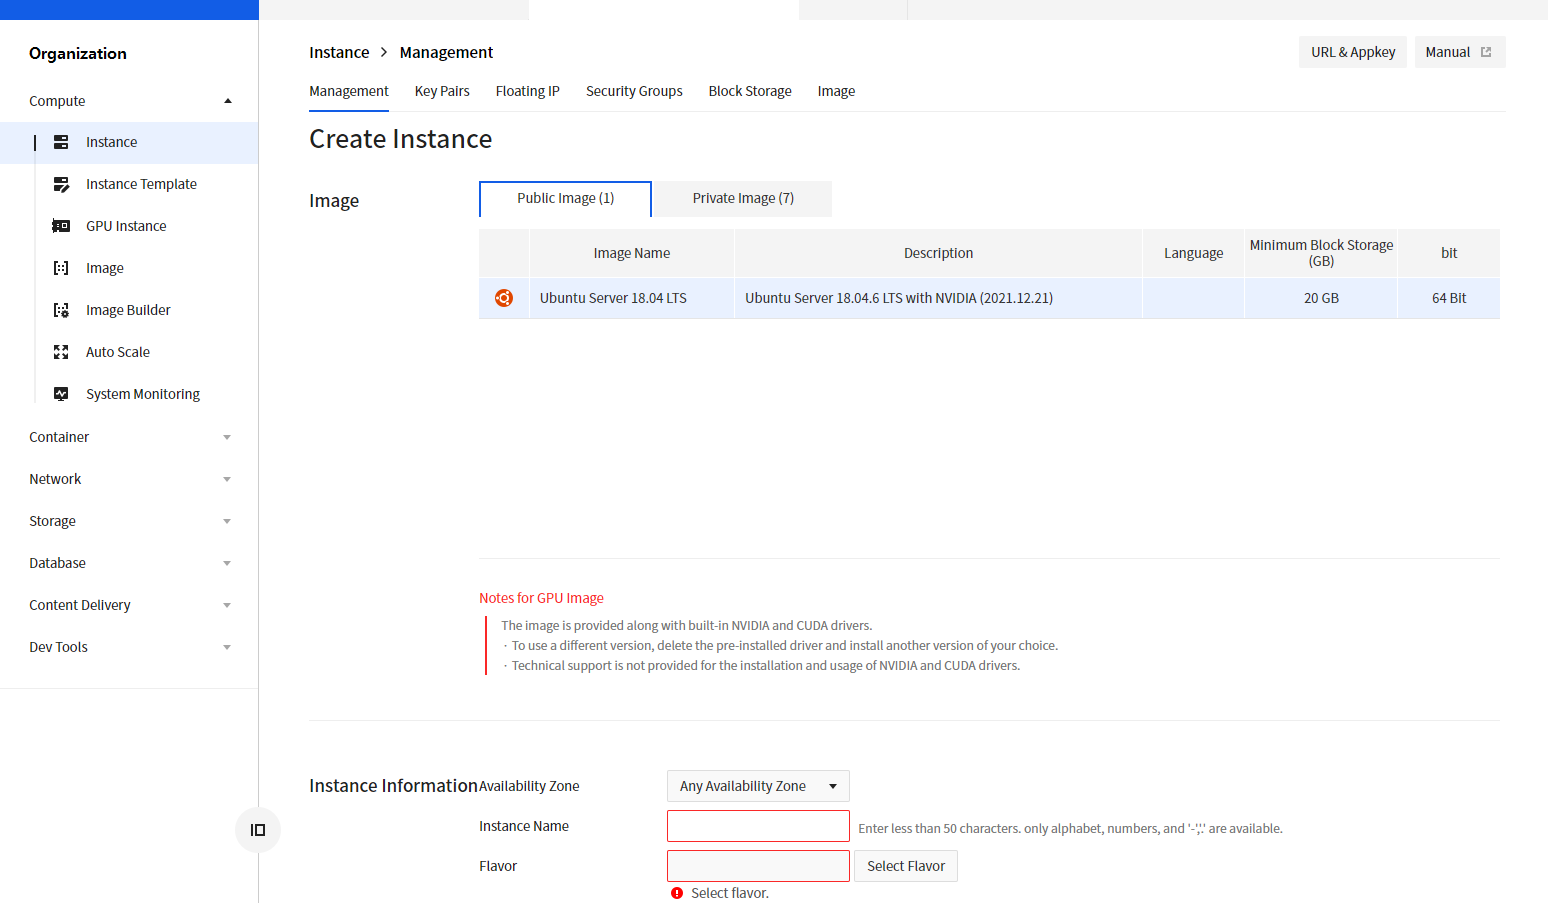
After completing the setup, create an instance. For more information on instance creation, see Instance Overview.
Check Installed Development Environment
Use the conda command to check the development environment installed by Miniconda.
$ conda info --envs
# conda environments:
#
                         /opt/intel/oneapi/intelpython/latest
                         /opt/intel/oneapi/intelpython/latest/envs/2021.4.0
base                  *  /root/miniconda3
pt_py38                  /root/miniconda3/envs/pt_py38
tf2_py38                 /root/miniconda3/envs/tf2_py38
[Note]
For more detailed instructions, refer to Miniconda documentation.
How to Use TensorFlow
First, activate the TensorFlow environment.
(base) root@b64e6a035884:~# conda activate tf2_py38
(tf2_py38) root@b64e6a035884:~#
Test TensorFlow training as follows:
$ cd ~/
$ git clone https://github.com/tensorflow/models.git
$ cd models
$ git checkout tags/v2.4.0
$ git status
HEAD detached at v2.4.0
nothing to commit, working tree clean

$ mkdir $HOME/models/model
$ mkdir $HOME/models/dataset
$ vim train.sh
#!/bin/bash


export PYTHONPATH=$HOME/models
export NCCL_DEBUG=INFO
MODEL_DIR=$HOME/models/model
DATA_DIR=$HOME/models/dataset
# Set when one or more GPU is used
NUM_GPUS=1 # Example: NUM_GPUS=2

python $HOME/models/official/vision/image_classification/mnist_main.py \
  --model_dir=$MODEL_DIR \
  --data_dir=$DATA_DIR \
  --train_epochs=2 \
  --distribution_strategy=mirrored \ # Set when one or more GPU is used
  --num_gpus=$NUM_GPUS \ # Set when one or more GPU is used
  --download

$ chmod +x train.sh
$ ./train.sh
[Note]
For more detailed instructions, refer to TensorFlow Tutorial.
How to Use PyTorch
First, activate the PyTorch environment.
(tf2_py38) root@b64e6a035884:~# conda deactivate
(base) root@b64e6a035884:~# conda activate pt_py38
(pt_py38) root@b64e6a035884:~#
Test PyTorch training as follows:
$ cd ~/
$ git clone https://github.com/pytorch/examples.git
$ cd examples/mnist
$ python main.py --epochs 1
[Note]
For more detailed instructions, refer to PyTorch Tutorial.